
Technology newsroom
How to Enable Fingerprint and Facial Recognition (Windows Hello) on Local Accounts in Windows 11
Learn how to set up Windows Hello for fingerprint scanning, facial recognition, and PIN login on Local Accounts in Windows 11. Enhance login security and convenience without needing a Microsoft account, including basic troubleshooting for inactive options.
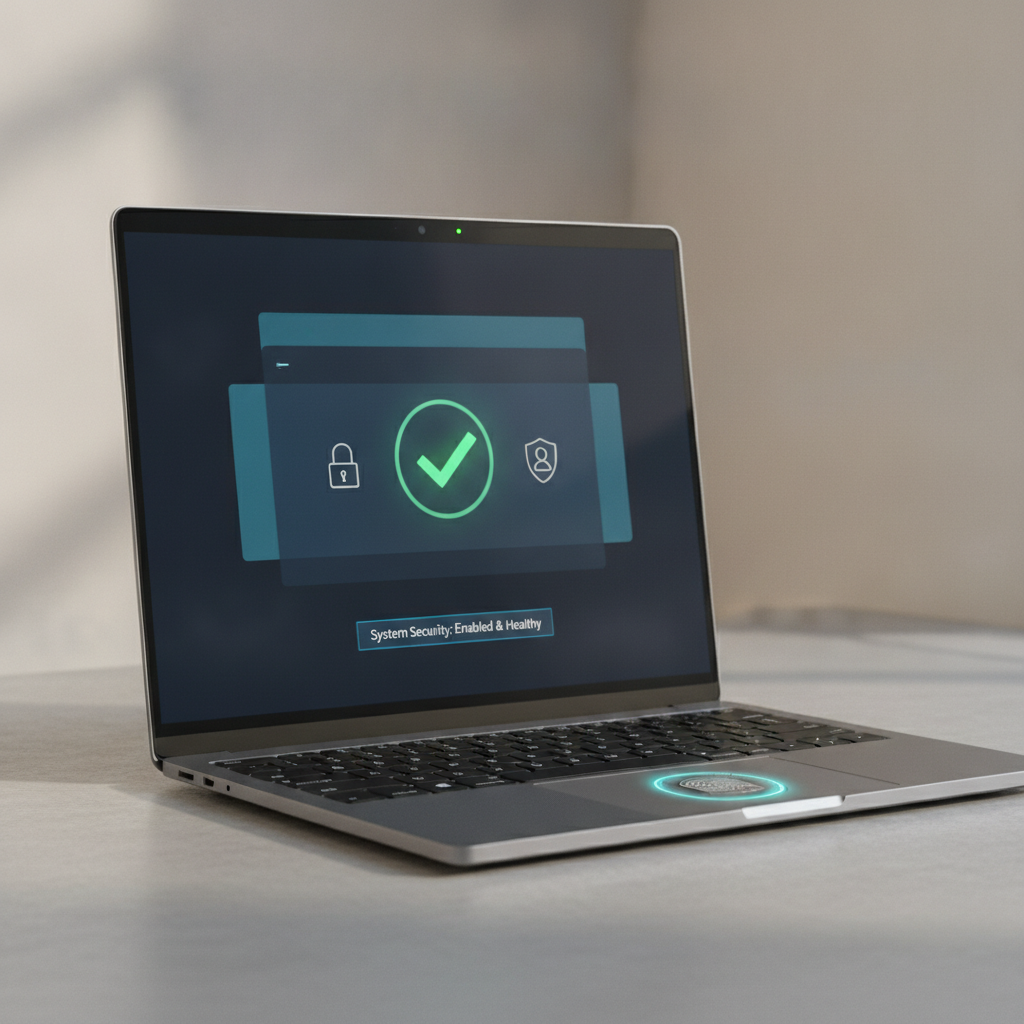
Many Windows 11 users choose to use a Local Account for privacy or familiarity, but may feel they miss out on modern convenience and security features. SyncTech Solution understands that combining the benefits of a Local Account with fast and secure authentication technology like Windows Hello is what many desire. This article will guide you on how to set up Windows Hello so you can use a PIN, fingerprint scan, or facial recognition to log in to your device, even without a Microsoft account.
### Understanding Windows Hello and Local Accounts
Windows 11 often recommends using a Microsoft Account for convenient data syncing and online services, but a Local Account remains a popular choice for those who prefer to keep all their data strictly on their computer, without connecting to any cloud services.
Windows Hello is a set of authentication features designed to make logging in more secure and faster than traditional passwords. It includes:
* **PIN:** A numeric or alphanumeric code specifically tied to that device, not a general password. If someone knows your PIN, they cannot use it on another computer, significantly enhancing security.
* **Biometrics:** This includes fingerprint scanning or facial recognition. This biometric data is stored and securely encrypted only on your device; no data is sent to the internet, ensuring high privacy and security. Using Windows Hello on a Local Account thus combines the advantages of both, for the most convenient and secure user experience.
### Before You Begin Setup
Good preparation will ensure smooth and secure steps:
1. **Check Hardware:** Verify that your computer has Windows Hello-compatible devices, such as a Fingerprint Reader or an Infrared (IR) Camera for facial recognition. If these devices are not present, you will only be able to set up a PIN.
2. **Remember Your Current Password:** You will need your current Local Account password to verify your identity during the Windows Hello setup process.
3. **Update Windows:** Ensure your Windows 11 is updated to the latest version by going to Settings > Windows Update to prevent issues from outdated software and guarantee optimal performance.
### Steps to Set Up Windows Hello on a Local Account
Follow these steps to easily and securely enable Windows Hello on your Local Account:
**1. Open the Sign-in options window**
* **Why:** This page is the central hub for managing all login methods on your computer.
* **How/Where:** Click the Start button (Windows logo) > Select Settings (gear icon) > In the Settings window, select the Accounts menu on the left > Then click Sign-in options.
* **Expected Outcome:** You will see a list of various sign-in options such as Facial recognition (Windows Hello), Fingerprint recognition (Windows Hello), and PIN (Windows Hello).
**2. Set up a PIN (Mandatory Step)**
* **Why:** A PIN is a fundamental and crucial fallback option for Windows Hello. If facial or fingerprint scanning encounters issues, you can always use your PIN to access your device.
* **How/Where:** On the Sign-in options page, click on PIN (Windows Hello) and then click the Set up button. The system will then ask you to enter your current Local Account password for identity verification before allowing you to set a new PIN of your choice.
* **Expected Outcome:** Once successfully set up, the Set up button will change to Change and Remove, indicating your PIN settings are ready for use.
**3. Add Fingerprint Data (For devices with a Fingerprint Reader)**
* **Why:** To allow you to quickly and securely unlock your computer by simply touching your finger to the scanner.
* **How/Where:** Return to the Sign-in options page, click on Fingerprint recognition (Windows Hello), and then click the Set up button. A setup window will appear; click Get started and enter the PIN you just set to verify your identity. Then follow the on-screen instructions by repeatedly tapping your finger on the scanner from various angles until the system collects complete data.
* **Expected Outcome:** The system will display “You're all set!” or a similar message, and you can choose Add another finger to add other fingerprints or click Close to finish.
**4. Add Facial Data (For devices with an IR Camera)**
* **Why:** This is the most convenient way to unlock; simply look at the camera, and you can instantly access your device.
* **How/Where:** On the Sign-in options page, click on Facial recognition (Windows Hello) and then click the Set up button. Click Get started and enter your PIN to verify your identity. Then look directly at the camera for the system to scan and recognize your face.
* **Expected Outcome:** Once the facial scan is successful, a message will indicate that the setup is complete, and you can click Close to close the window.
### Basic Troubleshooting: Options are Greyed out
If you find that the options for setting up fingerprint or facial recognition on the Sign-in options page are greyed out and cannot be clicked, it is often due to driver or hardware issues. Here are safe basic troubleshooting steps:
* **Check and Update Drivers:** Right-click the Start button (Windows logo) and select Device Manager > Look for the Biometric devices category and expand it. If a yellow exclamation mark appears, try right-clicking the device and selecting Update driver > Search automatically for drivers. If Windows does not find new drivers, go to your computer manufacturer's support website (e.g., Dell, HP, Lenovo) to download and install the latest drivers for the Biometric device directly.
* **Restart Computer:** After updating or reinstalling drivers, you should restart your computer once to allow the system to initialize the devices anew.
* **Expected Outcome:** After performing the above steps, the options on the Sign-in options page should become clickable again.
### Verify Results
After completing the Windows Hello setup, you should test it to ensure everything works as intended:
1. **Lock Screen:** Press Windows + L to lock your computer.
2. **Observe Login Screen:** You will see options to sign in with your face, fingerprint, or PIN appear on the login screen.
3. **Test Usage:** Try using the new method you set up to sign in. If you can successfully access your device, the setup is complete and ready for use.
### If You Still Encounter Issues
If you have followed all the steps but still encounter problems or cannot set up Windows Hello, the following possibilities may apply:
* **Organizational Computer:** If it is a device provided by your workplace or educational institution, the IT department might have set up a security policy (Group Policy) to disable this feature. You should contact your IT department or system administrator for direct advice and assistance.
* **Check with Manufacturer:** Visit your computer manufacturer's support website. There might be a Diagnostic Tool or specific software for checking and updating drivers, which could help resolve the issue more effectively.
* **Hardware Issues:** If all methods fail, it is possible that your fingerprint scanner or Infrared (IR) Camera may be faulty or damaged. You should consult a specialist or service center for inspection and repair.
Setting up Windows Hello on a Local Account enhances both the security and convenience of using Windows 11, and anyone can do it easily. It makes your daily logins faster, more efficient, and more secure, eliminating the need for traditional passwords.