
Move Data to a New Windows 11 PC Cloud-Free: A Safe DIY Guide
Technology news
Microsoft has removed the direct data migration tool in Windows 11, pushing users towards OneDrive with its limited storage. This article guides you through safely and independently transferring your files and data to a new computer using an External Hard Drive.
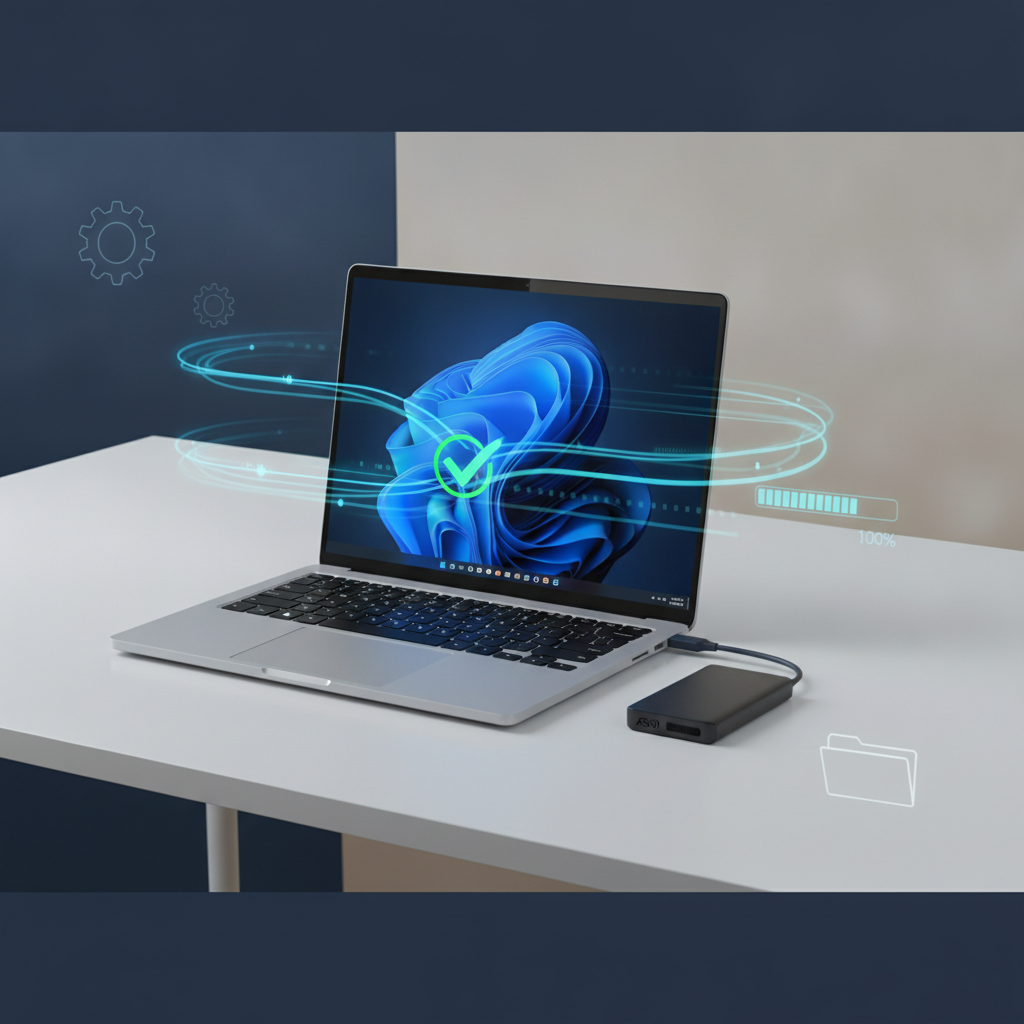
Getting a new computer is exciting, but transferring all your work files, photos, and important data from the old one can be a headache, especially since Microsoft recently removed the direct PC-to-PC Migration tool from Windows 11. This article from SyncTech Solution will guide you through a reliable and secure method to transfer your data without relying on the cloud or incurring extra costs.
### Understand Before Fixing: What Happened to Windows' Data Migration Tool?
In the past, Windows 11 included a feature that allowed users to directly transfer files and some settings from an old computer to a new one via Wi-Fi or LAN, which was very convenient for those with large amounts of data. Currently, Microsoft has removed this feature and now recommends users utilize Windows Backup, which integrates with OneDrive.
The problem is that OneDrive offers only 5GB of free storage, which is insufficient for most people's personal data, often tens or hundreds of GBs. Transferring all data via OneDrive would thus require subscribing to a paid monthly service. Furthermore, some organizations or users may have privacy policies or concerns, preferring not to upload important files to the cloud at all.
Therefore, manually transferring data using an external storage device (External Hard Drive or SSD) is currently the best solution. It offers complete control, unlimited data size (depending on the device), and eliminates the need for a high-speed internet connection to wait for uploads or downloads.
### Before You Begin: Get Ready
Good preparation will help the data migration process run smoothly and reduce the risk of data loss.
1. **Prepare an External Hard Drive:** Find an external drive with enough free space for all your data. To check the size of the data you need to move, go to your user folder (usually located at C:\Users\[Your Username]), right-click it, and select Properties to see the total size of all files.
2. **List Programs for Reinstallation:** This method only transfers data files; it cannot migrate installed programs. Browse your old computer and list all the important programs you need to use, so you can reinstall them on your new computer.
3. **Back Up Browser Data:** If you use browsers like Google Chrome, Microsoft Edge, or Firefox, it's recommended to sign in with your account to sync important data such as bookmarks, passwords, and browsing history to the cloud. Alternatively, you can export your bookmarks as an HTML file.
4. **Plug in Power:** Ensure both computers are plugged into power throughout the process to prevent battery drain issues during file copying.
### Safe Method: 5 Steps to Move Data to Your New PC
1. **Gather Important Data on Your Old Computer**
* **WHAT:** Identify and gather all folders containing your personal data.
* **WHERE/HOW:** Open File Explorer and navigate to C:\Users\[Your Username]. The primary folders you should focus on include Desktop, Documents, Downloads, Music, Pictures, and Videos. If you have data stored on other drives (e.g., D: or E:), be sure to check those as well.
* **WHY:** To ensure all your personal and work files are collected and ready for copying, without missing any important data.
* **EXPECTED RESULT:** You will know the locations of all data you wish to transfer.
2. **Copy Data to the External Hard Drive**
* **WHAT:** Create a copy of all data from the old computer to the external drive.
* **WHERE/HOW:** Connect the External Hard Drive to your old computer. On the external drive, create a new folder, for example, "Old PC Backup". Then, select all folders from step 1 (Desktop, Documents, etc.), right-click, and choose Copy. Navigate to the "Old PC Backup" folder, right-click, and select Paste.
* **WHY:** To create a complete set of backed-up data on a portable device, which will serve as the intermediary for transferring data to the new computer.
* **EXPECTED RESULT:** A file copying window will appear, showing progress. Upon completion, your data folders will be present on the External Hard Drive.
3. **Verify Data Integrity of the Copy**
* **WHAT:** Randomly check files on the External Hard Drive to ensure the copy is complete.
* **WHERE/HOW:** On the External Hard Drive, navigate into various folders and randomly open files, such as Word documents, image files, or PDF files, to ensure they are not corrupted and can be opened correctly. Additionally, right-click on the "Old PC Backup" folder and select Properties to check if its total size is similar to the original.
* **WHY:** This is a crucial security step to prevent cases of failed copying or corrupted files, allowing you to identify issues before moving to the new computer or deleting data from the old one.
* **EXPECTED RESULT:** The files you randomly open are usable as normal, and the data size is similar to the original.
4. **Transfer Data from External Hard Drive to the New Computer**
* **WHAT:** Copy files from the external drive to the correct locations on the new computer.
* **WHERE/HOW:** Connect the External Hard Drive to your new computer. Open two File Explorer windows: one showing the "Old PC Backup" folder on the external drive, and the other navigated to C:\Users\[Your New Username]. Then, copy data from the external drive and paste it into the corresponding folders on the new computer. For example, copy all content within the "Documents" folder from the drive and paste it into the "Documents" folder on the new computer. Repeat this for all relevant folders.
* **WHY:** To ensure your files are restored to the standard locations that Windows and various programs recognize, facilitating a smooth continuation of your work.
* **EXPECTED RESULT:** Your old computer's files and folders will appear in the new computer in their appropriate locations.
5. **Install Programs and Configure Settings**
* **WHAT:** Install necessary programs and import various settings.
* **WHERE/HOW:** Use the list of programs you noted down to download and reinstall them one by one. For browsers, sign in with your old account to sync data, or use your backed-up bookmarks file to import them.
* **WHY:** To ensure your new computer has the tools and working environment ready for use, just like your old computer.
* **EXPECTED RESULT:** You can open various programs and access your favorite websites as before.
### Verify Results
After following all steps, check the operations as follows:
1. **Open Work Files:** Try opening frequently used Word, Excel, or other work files from your Documents folder to check if programs can open and edit them normally.
2. **Check Personal Files:** Navigate to the Pictures and Music folders to see if all your photos and music are present.
3. **View Desktop:** Verify that files or shortcuts that were on your old desktop now appear on the new one.
### If Issues Persist
- **Some files are missing:** Recheck the External Hard Drive and your old computer. **Most importantly, do not delete data or format your old computer** until you are 100% certain that all data on the new computer is complete.
- **Programs cannot open files:** Ensure you have installed the necessary programs for those files. For example, if you cannot open a .PSD file, it might be because Adobe Photoshop is not yet installed.
- **When to seek help:** If you have critical business data, use specialized programs with complex databases (such as accounting software), or are unsure about any step, consulting your company's IT department or a computer specialist is the safest option.
### Conclusion
Although Microsoft has removed its convenient data migration tool, transferring data using an External Hard Drive remains a reliable fundamental skill that gives you full control over your data. By following these steps carefully and without rushing, you can smoothly start using your new computer with all your important data intact.