
Technology newsroom
Your App is Shutting Down! A Guide to Migrating Essential Data for SMEs and Office Workers
Is your go-to app announcing its shutdown? Learn how to systematically migrate essential business data, from exporting and selecting a new service to importing and testing, ensuring your business operations continue smoothly and securely.
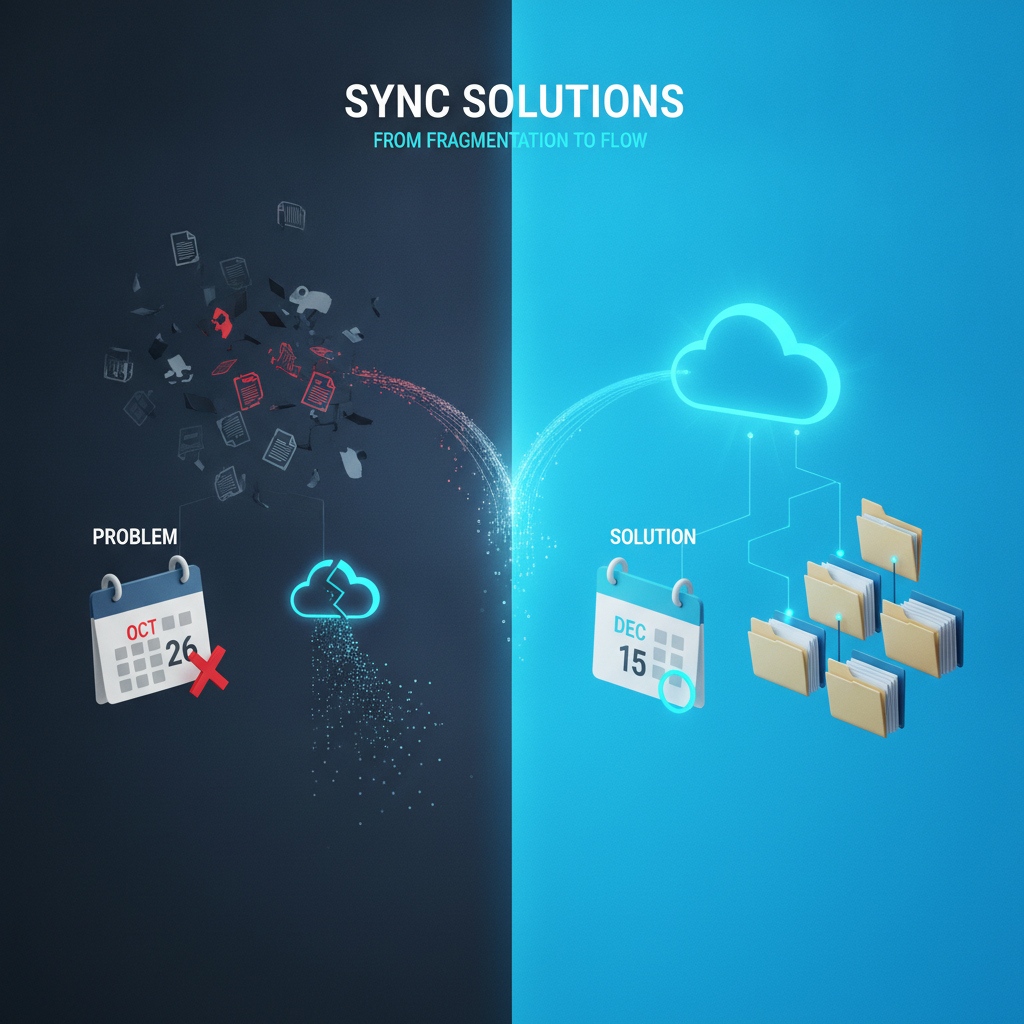
Often, applications or online services we rely on daily announce sudden shutdowns, raising concerns that critical data might be lost. This article from SyncTech Solution will guide you through the systematic steps for preparing and migrating data, ensuring your business continues to operate smoothly. These steps are practical for both general office workers and SME business owners.
### Understand Before Acting: Why Data Migration is More Critical Than You Think
When a service provider announces the discontinuation of an application or software, it means that after the specified date, we will no longer be able to access the program and the data stored within it. Reasons could include business decisions, acquisitions, or a shift to new technology. The most critical aspect isn't finding out why they're shutting down, but rather protecting your data, which could include customer information, project files, meeting notes, or vital files accumulated over many years. If data migration isn't performed in advance, the resulting damage could mean lost business opportunities, critical organizational data, or even damage to the company's credibility. Therefore, careful data migration planning is an essential risk management practice.
### Before You Begin: Get Ready to Act
Before starting the data migration process, prepare the following to ensure the entire process is smooth and secure.
1. **Read the Notification Carefully:** Check the email or announcement from the service provider to confirm the service shutdown date and whether they offer tools or instructions for data backup (Export). Mark important dates on your calendar.
2. **Assess Data for Migration:** Examine what types of data are in the app, their level of importance, and if all of it needs to be migrated. You might find old data that doesn't need to be moved to the new program.
3. **Find a Replacement Service:** Research and compare alternative applications that can perform the same functions as the old one. Consider if the new service can import data from the old service to reduce the time spent on entirely new setup.
4. **Prepare Storage Space:** Ensure you have sufficient free space on your computer or Cloud Storage for the data files you will download.
### Secure Migration: 5 Steps to Move Data When Your Service is Shutting Down
Follow these steps to migrate your essential data to its new home completely and securely.
**Step 1: Export All Data**
* **WHAT:** Download all your data from the old service to your computer.
* **WHERE/HOW:** Log in to the old service. Look for menus named “Settings,” “Account,” or “Profile.” Then, find options like “Export,” “Backup,” or “Download your data.” Menu names may vary between services; follow the on-screen instructions.
* **WHY:** To ensure you have a complete copy of your data, guaranteeing that it won't be lost with the service shutdown and can be used with the new service.
* **EXPECTED RESULT:** You should receive data files in standard formats such as .CSV, .JSON, or a .ZIP file containing all your documents and images. Check the file size to ensure it's not unusually small, and try opening the files to verify data completeness.
**Step 2: Sign Up and Set Up the New Service**
* **WHAT:** Create an account on the new application or service you've chosen as a replacement.
* **WHERE/HOW:** Go to the new service provider's website and sign up. Then, complete the necessary profile and basic settings.
* **WHY:** To prepare a "new home" for the incoming data and to confirm that you can actually access the new service before starting the data migration.
* **EXPECTED RESULT:** You can successfully log in to the new service and see the program's main interface.
**Step 3: Import Data to the New Service**
* **WHAT:** Upload the data files backed up in Step 1 to the new service.
* **WHERE/HOW:** In the new service, look for a “Settings” menu or a tool named “Import,” “Migrate,” or “Connect to another service.” Then, select the data files you downloaded and follow the steps.
* **WHY:** This automatically transfers data from the old to the new service, saving time and preventing errors from manual data entry.
* **EXPECTED RESULT:** Your data, such as customer lists, projects, or notes, should appear in the new service in the correct and complete format.
**Step 4: Test Functionality and Verify Accuracy**
* **WHAT:** Test the main functions on the new service to ensure that the imported data is usable and accurate.
* **WHERE/HOW:** Try opening old projects, editing data, creating new tasks, or using 2-3 functions you frequently use to see if everything works normally. Compare some critical data with your backup files to ensure nothing is missing.
* **WHY:** To confirm that the new service can genuinely replace the old one and that your team can continue working without disruption. Discovering issues at this stage is better than finding them after the old service has shut down.
* **EXPECTED RESULT:** You can access and manage the migrated data just as you did on the old service, and no serious errors in usage are found.
**Step 5: Notify Your Team and Cancel the Old Service (Only When Confident)**
* **WHAT:** Inform all colleagues about the change and the start of using the new service, then cancel the old service.
* **WHERE/HOW:** Communicate with your team through regular channels such as email or group chat. Once everyone confirms they can work smoothly on the new system, return to the old service and cancel your account (Cancel Subscription/Delete Account), usually found on the “Account” or “Billing” page.
* **WHY:** To ensure everyone on the team switches to the same tool, prevent confusion, and delete your data from the old server for security.
* **EXPECTED RESULT:** All team members begin working on the new platform, and your account on the old service is completely deactivated.
### Verify Results
After completing all steps, check the following for assurance:
1. **Work Continuity:** The team can seamlessly continue working on current projects on the new platform.
2. **Data Completeness:** Randomly check critical old data, such as key customer information or important work files, to ensure they are complete and accessible.
3. **Access:** Verify that you can no longer log in to the old service, confirming that the account has been successfully closed.
### If Issues Persist
If you encounter problems during data import, such as incompatible file formats or corrupted data display, try checking the Help/Documentation of the new service provider. They often provide specific instructions for migrating data from other popular services. If issues remain unresolved, contacting the Customer Support of the new service is the best solution, as they specialize in assisting users with direct data migration. For larger organizations with complex data, consulting an IT department or data migration specialist will help mitigate risks and ensure a smooth transition.
The shutdown of a service is not cause for concern if we are well-prepared and have a good plan. Following these steps will help you protect your valuable business data and transition to new tools with confidence.