
Technology newsroom
Google Drive Stops Syncing Photos to Google Photos? Don't Panic! Here's How to Set It Up
Google Drive for desktop is changing how photos are backed up to Google Photos. This article provides a safe, step-by-step guide to reconfigure your settings, ensuring your cherished photos from your computer continue to be backed up correctly.
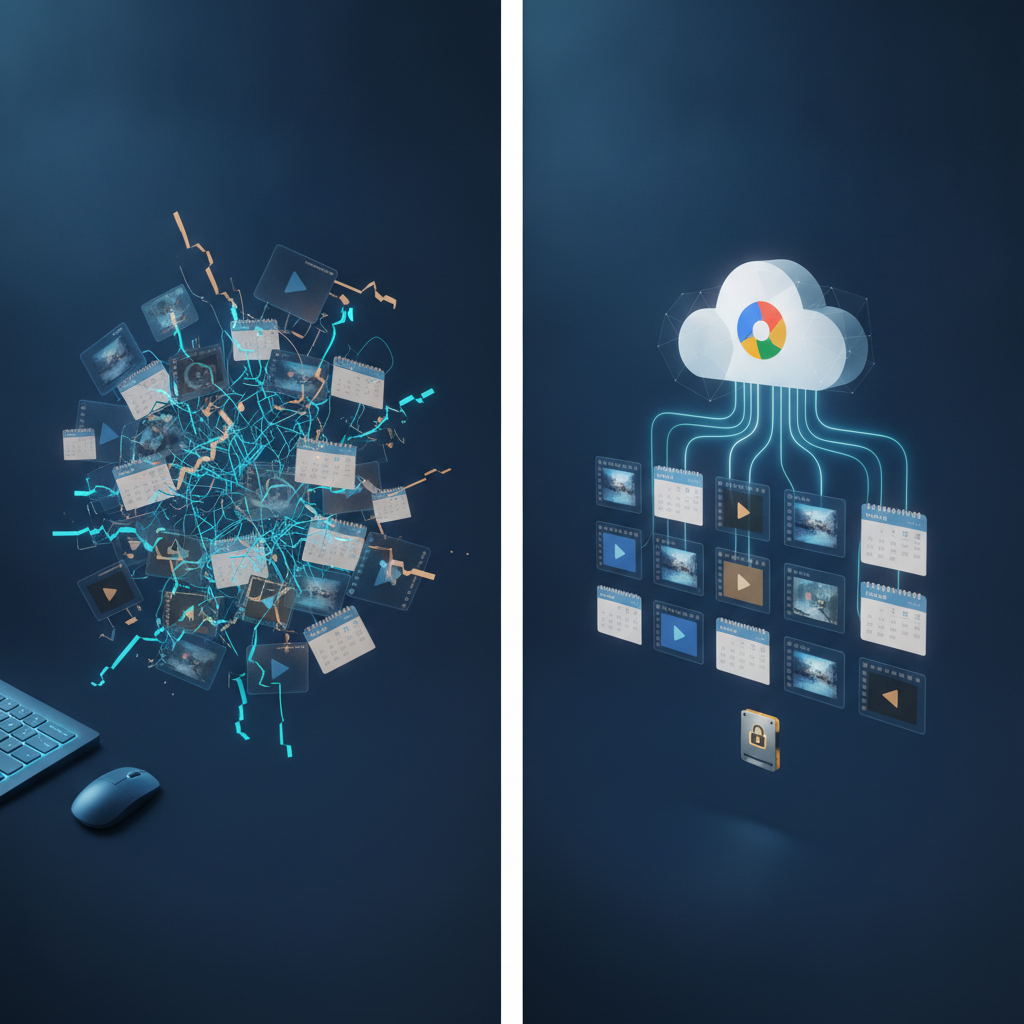
Users of Google Drive for desktop on computers who back up photos and videos to Google Photos may soon notice a change. This article from SyncTech Solution will explain the reason and provide a step-by-step guide on how to set up the new backup method, ensuring all your memorable photos remain safely and continuously stored.
### Understand Before Fixing
This change is not a cancellation of the service, but an improvement to clarify its functionality. Previously, Google Drive for desktop allowed us to select any folder on the computer and “sync” the data to Google Drive. Sometimes, users configured it to sync photo folders to Google Photos as well, leading to slight confusion between files stored in Drive and photos in Photos.
To reduce complexity, Google has streamlined the process, making backing up to Google Photos a direct and distinct function within the same program. This means that instead of using the old “sync” method, we now need to specifically configure the “backup” to Google Photos. This makes management simpler and more straightforward. Your photos aren't disappearing; you just need to switch to the correct settings menu.
### Before You Begin
Good preparation helps ensure a smooth transition and reduces potential errors.
1. **Update the program:** Make sure your Google Drive for desktop program on your computer is the latest version to ensure the menus and functions match these instructions.
2. **Note folder names:** If you don't remember which folders you previously set to back up photos from, open your current Google Drive for desktop settings and write down those folder names, such as C:\Users\YourName\Pictures or D:\My Photos.
3. **Stable internet connection:** The initial setup after the change may involve scanning and uploading a large number of files. You should connect to a Wi-Fi network with good speed and stability.
### Safe Configuration Steps
Follow these steps to switch to the new method for backing up photos to Google Photos.
**1. Open the Preferences window**
* **WHAT:** Access the program's main settings screen.
* **WHERE/HOW:** Click the Google Drive cloud icon on the Taskbar (Windows) or Menu Bar (macOS), then click the gear icon (Settings) and select “Preferences.”
* **WHY:** This window is the central hub for managing everything, including syncing files with Drive and backing up data to Photos.
* **EXPECTED RESULT:** The Google Drive for desktop Preferences window will appear.
**2. Review and stop old syncs (if any)**
* **WHAT:** Cancel old settings that might lead to redundant data.
* **WHERE/HOW:** In the Preferences window, go to the “My Computer” tab. Look for any photo folders you previously configured. If a folder is set to “Sync with Google Drive,” uncheck the box or click on the folder and select “Stop syncing.”
* **WHY:** To prevent the program from uploading the same set of photos to both Google Drive and Google Photos, which would unnecessarily consume storage space.
* **EXPECTED RESULT:** Your photo folders will no longer appear in the list synced with Google Drive.
**3. Add folders for new backups**
* **WHAT:** Tell the program which folders to start backing up from.
* **WHERE/HOW:** In the “My Computer” tab, click the “Add folder” button. Then, select the main photo folders you want to back up (e.g., the Pictures folder you noted earlier).
* **WHY:** This initiates the setup process specifically for the backup function.
* **EXPECTED RESULT:** The folder selection window will open, and once selected, the folder name will appear in the list awaiting configuration.
**4. Select “Back up to Google Photos” as the destination**
* **WHAT:** Instruct the program to send photo and video files directly to the Google Photos service.
* **WHERE/HOW:** After adding a folder in the previous step, the program will display two options. Tick the checkbox for “Back up to Google Photos” and uncheck “Sync with Google Drive.”
* **WHY:** This is the core of the change. It instructs the program to use the new function designed specifically for managing photo collections, which offers better organization, search, and display than storing them as ordinary files in Drive.
* **EXPECTED RESULT:** Below the selected folder name, a message will indicate that data will be backed up to Google Photos.
**5. Save settings and start the process**
* **WHAT:** Confirm all settings and begin the backup process.
* **WHERE/HOW:** Click the “Save” or “Done” button in the bottom right corner of the Preferences window.
* **WHY:** To apply the new settings and allow the program to start scanning the selected folders to upload any files that haven't been backed up yet.
* **EXPECTED RESULT:** The settings window will close, and the Google Drive icon on the Taskbar/Menu Bar will show a working status (e.g., a spinning icon).
### Verify the Results
After configuring, allow some time for the program to start. You can then check as follows:
1. **Check program status:** Click the Google Drive icon to see its current status. The program should display a message like “Backing up” along with the names of files being uploaded.
2. **Check on Google Photos web:** Open your browser and go to photos.google.com. Log in with the same Google account. Then, check the “Recently added” menu. You should start seeing photos from your computer gradually appearing there.
### If Issues Persist
If, after setup, photos are not uploading or the program seems stuck, try the following:
* **Restart your computer:** A basic step that often resolves connection issues or frozen programs.
* **Pause and resume syncing:** Try clicking the Google Drive icon > gear icon > select “Pause syncing,” wait a moment, then click “Resume syncing.”
* **Check storage space:** Verify if your Google account storage is full by visiting one.google.com/storage.
* **Contact IT department:** If it's a company computer or if all methods fail, consult your organization's IT department. There might be specific policies limiting program functionality, or a program reinstallation might be necessary.
In summary, this change is merely an improvement to the settings method. By following these steps, you can continue backing up photos from your computer to Google Photos as before, ensuring all your memories are securely stored.