
Technology newsroom
Organize Photos in Google Photos Manually on Android: A Long-Awaited Feature
Learn how to use the new Manual Stacking feature in Google Photos on Android to group similar photos yourself, making your gallery organized and easier to find, and solving the limitations of automatic systems.
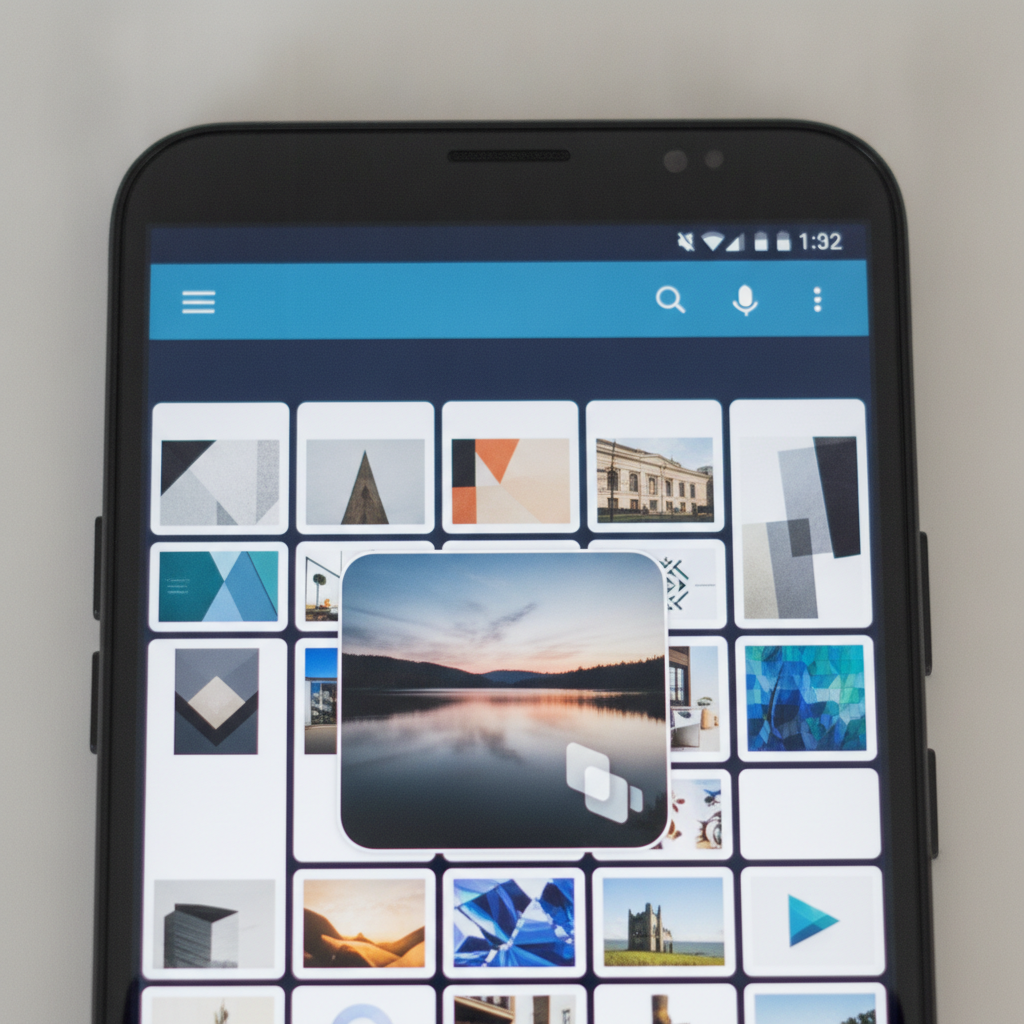
For Android users who store memories and work photos in Google Photos, you've likely encountered the problem of a cluttered gallery filled with many similar images. This article introduces a new, much-anticipated feature: "Manual Stacking," which allows you to professionally control and organize your photos, transforming a chaotic gallery into a clean and tidy one once more.
### Understand Before You Fix: What is Photo Stacking and Why Do It Manually?
Google Photos typically offers an automatic "Photo Stacks" feature for similar images. For instance, when you take burst shots, the system automatically groups them into a single stack. However, this automatic capability has limitations; it doesn't always understand the user's "context."
For example, you might take multiple photos of a single product from various angles, capture presentation slides page by page, or photograph several document pages. These images might not appear technically similar enough for the automatic system to group them. The result is that your gallery remains cluttered.
The "Manual Stacking" feature directly addresses this problem by empowering you to decide which photos to group together. This allows you to create photo stacks based on projects, events, or specific needs, making future photo search and management much easier.
### Before You Start: Prepare to Update the App
Before you begin using this feature, the single most important thing to do is update the application.
1. **Update the Google Photos app:** Open the Google Play Store and search for "Google Photos." Then, tap the "Update" button to ensure you are using the latest version with this feature. As it's a newly released feature, if the update button isn't available yet, you might need to wait another 2-3 days, as Google may roll it out to different user groups gradually.
2. **Connect to the internet:** It is recommended to connect to a stable Wi-Fi network so that the changes you make sync quickly with your Google account and don't consume mobile data.
Grouping photos is solely for organization, not data deletion. Therefore, there's no need to worry about losing photos, and you can always unstack them.
### How to Do It Safely: 5 Simple Steps to Stack Photos
When the app is updated, you can start organizing your photos.
**1. Open the App and Select Desired Photos**
* **WHAT:** Select all the photos you want to arrange into a single group.
* **WHERE/HOW:** Open the Google Photos app, go to the main screen (Photos tab), then long-press on the first photo you want to select until a blue checkmark appears. Then, tap to select other photos you want to include in the group.
* **WHY:** To define the set of photos to be combined into one stack.
* **EXPECTED RESULT:** Selected photos will have a blue border with a checkmark, and the number of selected photos will be displayed at the top of the screen.
**2. Access the More Options Menu**
* **WHAT:** Open the command menu to view additional actions that can be performed on the selected photos.
* **WHERE/HOW:** After selecting the photos, look for the "three dots" (⋮) icon, typically located in the top-right corner of the screen, and tap it.
* **WHY:** This menu contains various advanced commands, including the photo stacking command.
* **EXPECTED RESULT:** A menu window will appear with a list of commands such as "Add to album," "Move to archive," "Delete from device," etc.
**3. Command “Stack photos”**
* **WHAT:** Use the command to combine the selected photos into a single stack.
* **WHERE/HOW:** In the menu that appears, look for the command **“Stack photos”** (the menu name might vary slightly in some versions) and tap it.
* **WHY:** To confirm that Google Photos should group the selected photos as you've chosen.
* **EXPECTED RESULT:** The multiple photos you selected will disappear from the main gallery screen and be replaced by a single image, which is the cover photo of the stack. A superimposed squares icon will appear in the top-right corner of that photo, symbolizing that it is a "photo stack."
**4. Review and Manage Photos in the Stack**
* **WHAT:** View all the photos contained within the stack you just created.
* **WHERE/HOW:** Tap once on the photo stack (the image with the superimposed squares icon). The app will open a new screen displaying all the photos in the stack sequentially. You can swipe left-right to view each photo as usual. Google Photos will automatically select the best photo as the "Top Pick" or cover image.
* **WHY:** To confirm that all photos are grouped correctly and to allow you to access individual photos within the stack when needed.
* **EXPECTED RESULT:** You will see all the previously selected photos displayed on the stack viewing screen.
**5. How to Unstack Photos**
* **WHAT:** Separate the grouped photos back to their original state if you grouped them incorrectly or changed your mind.
* **WHERE/HOW:** Select the "photo stack" you wish to unstack. Then, tap the "three dots" (⋮) menu icon again and select the **“Unstack photos”** command.
* **WHY:** To provide users with flexibility and the ability to modify their organization at any time without fear of making mistakes.
* **EXPECTED RESULT:** The photo stack will disappear, and all photos previously in the group will reappear as individual photos on the main gallery screen in their original chronological order.
### Check Results: Is Your Gallery Really Cleaner?
1. **Try scrolling:** Scroll through the main gallery. You should notice that the number of displayed photos has decreased, making it look tidier and easier to find things.
2. **Search by event:** Try using the search function for events or dates that previously had many duplicate photos. The results should now display as photo stacks, making it easier to see an overview.
3. **Open photo stacks:** Randomly open 2-3 photo stacks you created to ensure that the photos inside are grouped exactly as you intended.
### If It's Still Missing: Why There's No “Stack photos” Menu
If you followed the steps but still can't find the "Stack photos" menu, please check the following:
* **Wait for the update:** It's highly likely that your app has not yet received this feature update. Please check the Play Store again the next day. New feature rollouts often take some time to reach all users.
* **Clear app cache:** Sometimes, lingering old data might prevent new menus from appearing. Try going to your phone's Settings > Apps > Google Photos > Storage > Clear Cache, then reopen the app. (This step will not delete your photos.)
* **For enterprise users:** If you're using a company Google Workspace account, it's very unlikely that this feature would be disabled. However, if other colleagues can use it but you cannot, you might try asking your IT department to check if any policies restrict app functionality.
Manual photo stacking is a small but powerful tool that transforms your smartphone into an organized and readily accessible photo library. Try incorporating it into your next photo session, and you'll find that managing photos is no longer a headache.