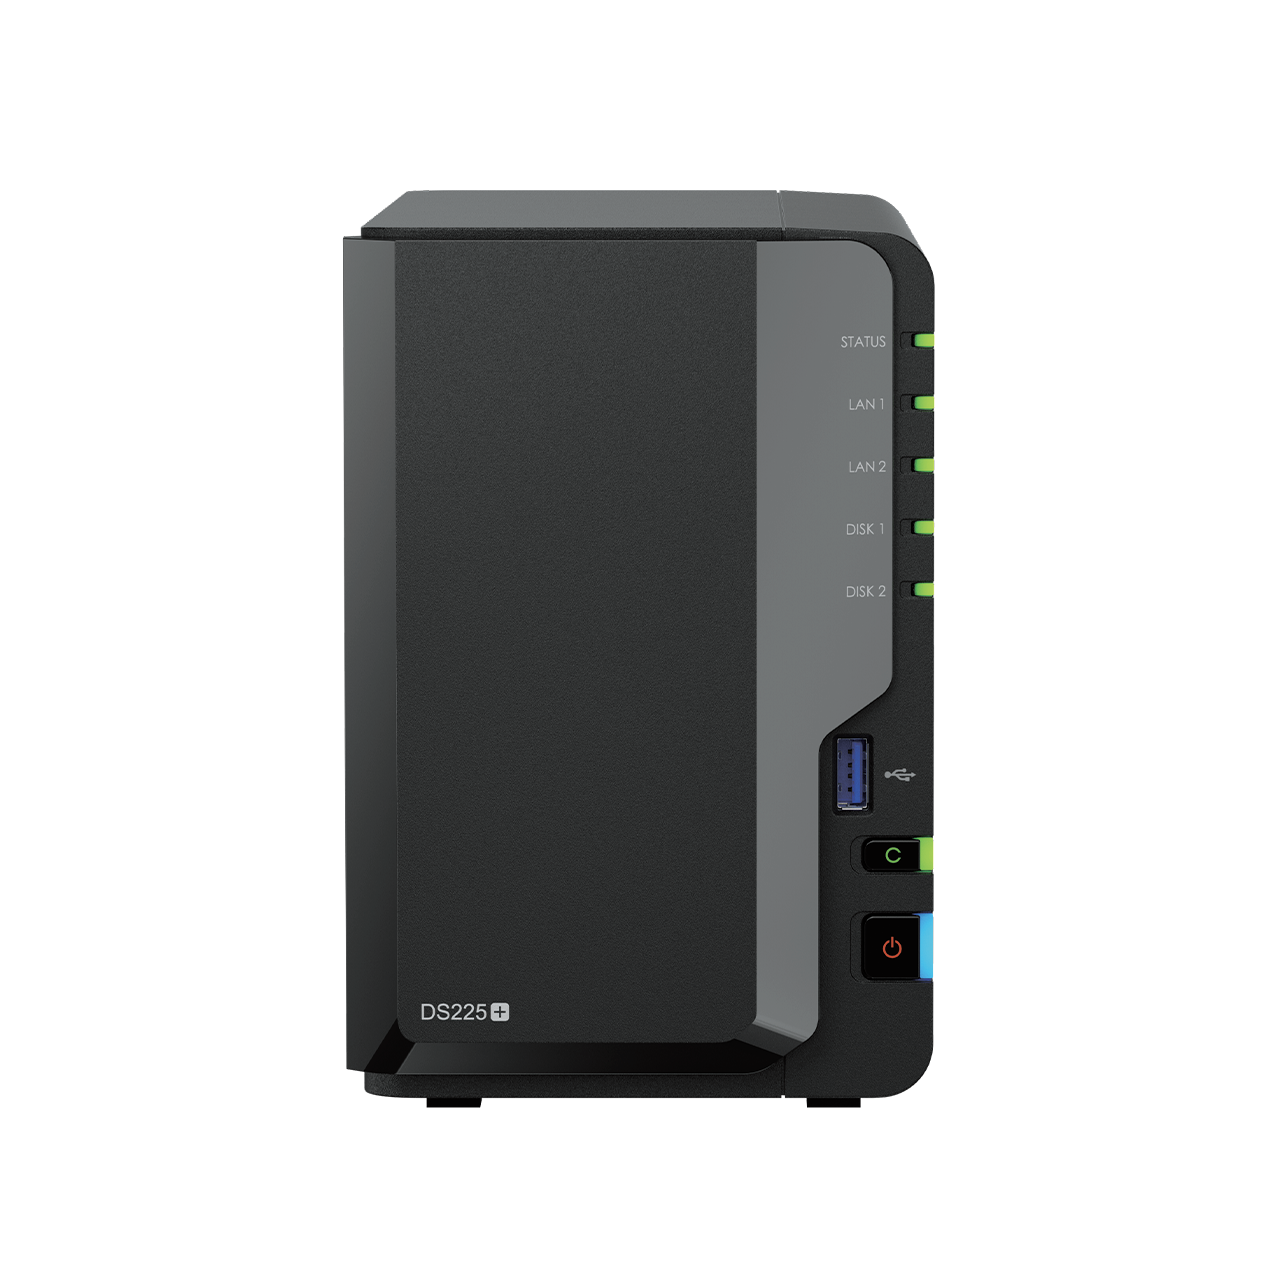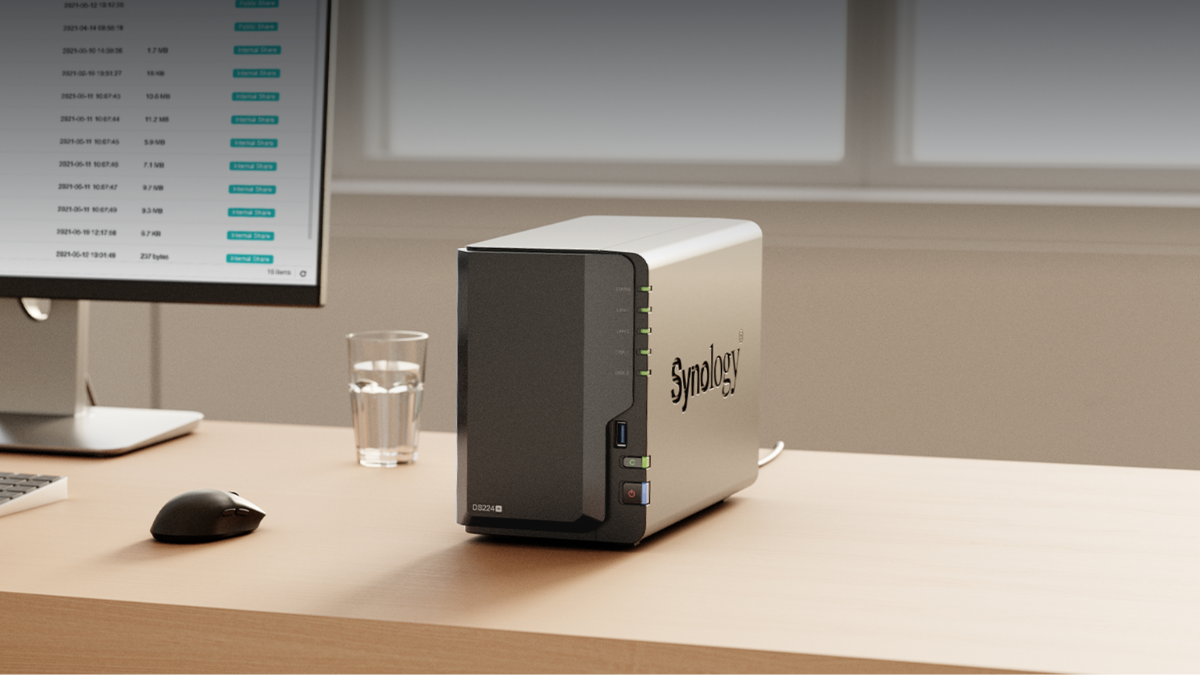
NAS (Network Attached Storage) from Synology is a storage device that connects to a network, allowing users to store, share, back up, and access files conveniently from various devices, whether computers, smartphones, tablets, or other devices within homes and organizations.
Synology NAS operates through the DSM (DiskStation Manager) operating system, which is a NAS management system accessible via a web browser. It allows users to configure storage, create users, share files, back up data, install applications, and set security settings easily.
This article will introduce the steps for setting up a Synology NAS for general users, from preparing the equipment, installing the hard drives, installing DSM, creating a Storage Pool and Shared Folder, to setting up basic security and Backup.
What is Synology NAS?
Synology NAS is a network storage device that allows users to consolidate data in one place and access that data from multiple devices, whether at home, in the office, or connected from outside through an appropriate system.
Synology NAS can be used for a variety of tasks, such as
- Share files between computers at home or office
- Back up data from computers, smartphones, or tablets
- Create a private cloud to store personal or organizational files
- Store and manage photos through Synology Photos
- Sync files and collaborate through Synology Drive
- Back up NAS to an External Drive, another NAS, or Cloud via Hyper Backup
- Work with surveillance cameras via Surveillance Station
- Use as a File Server, Backup Server, or Media Server
1. Prepare the equipment before starting the setup
Before installing the NAS, you should prepare the equipment to ensure a smooth setup.
- Synology NAS: The chosen model, such as DiskStation or RackStation
- HDD or SSD: You should choose a drive suitable for NAS and check Synology's Compatibility List before use
- Router or Switch: For connecting the NAS to the network
- LAN Cable: It is recommended to use a high-quality cable, such as Cat5e, Cat6, or higher, depending on the desired network speed
- Computer or Smartphone: For the initial setup of the NAS
- UPS: Recommended for tasks that require data safety, to reduce the risk from power outages or surges
For new NAS models, you should check the support conditions for HDD, SSD, RAM, and M.2 NVMe of that model before purchasing accessories because some models have different compatibility requirements.
2. Install Hardware
- Install HDD or SSD
Open the NAS drive tray and install the HDD or SSD in the correct position, then lock the drive tray securely according to the manual of each model. - Connect the LAN cable
Plug the LAN cable from the NAS into the router or switch that is on the same network as the computer used for setup. - Connect the power cable and turn on the device
Plug in the power cable, turn on the NAS, and wait until the status light indicates that the system is ready to operate. - Check the front panel status light
If the status light is abnormal, such as red or blinking abnormally, you should check the manual or the drive status before proceeding.
3. Search for NAS and install DSM
After turning on the NAS, use a computer or device on the same network to search for the NAS.
- Open a web browser
- Go to https://finds.synology.com/
- The system will search for Synology NAS on the same network
- Select the found NAS and start the installation process
- Install the DSM operating system following the on-screen instructions
- Set the Server Name, administrator account, and password
Administrator passwords should be strong, and account names or passwords that are easy to guess, such as admin, password, 12345678, or the company name, should not be used.
4. Update DSM and Packages to the latest version
After installing DSM, you should check for system updates immediately to ensure the NAS receives the latest security patches and features.
- Go to Control Panel
- Select Update & Restore
- Check DSM Update
- Set notifications or Auto Update as appropriate
- Open Package Center and update all installed Packages
For business systems, data should be backed up and the compatibility of packages should be checked before updating to a major DSM version to prevent issues with existing services.
5. Create Storage Pool and Volume
After installing DSM, the important step is to create a storage space. Generally, it starts with creating a Storage Pool and a Volume
What is a Storage Pool?
Storage Pool is a group of HDDs or SSDs combined together to create storage space, where you can choose RAID or SHR types depending on the number of drives and security requirements.
What is Volume?
Volume is the actual usable space created on the Storage Pool, used for creating Shared Folders, installing Packages, and storing various data.
6. Choose the appropriate RAID or SHR
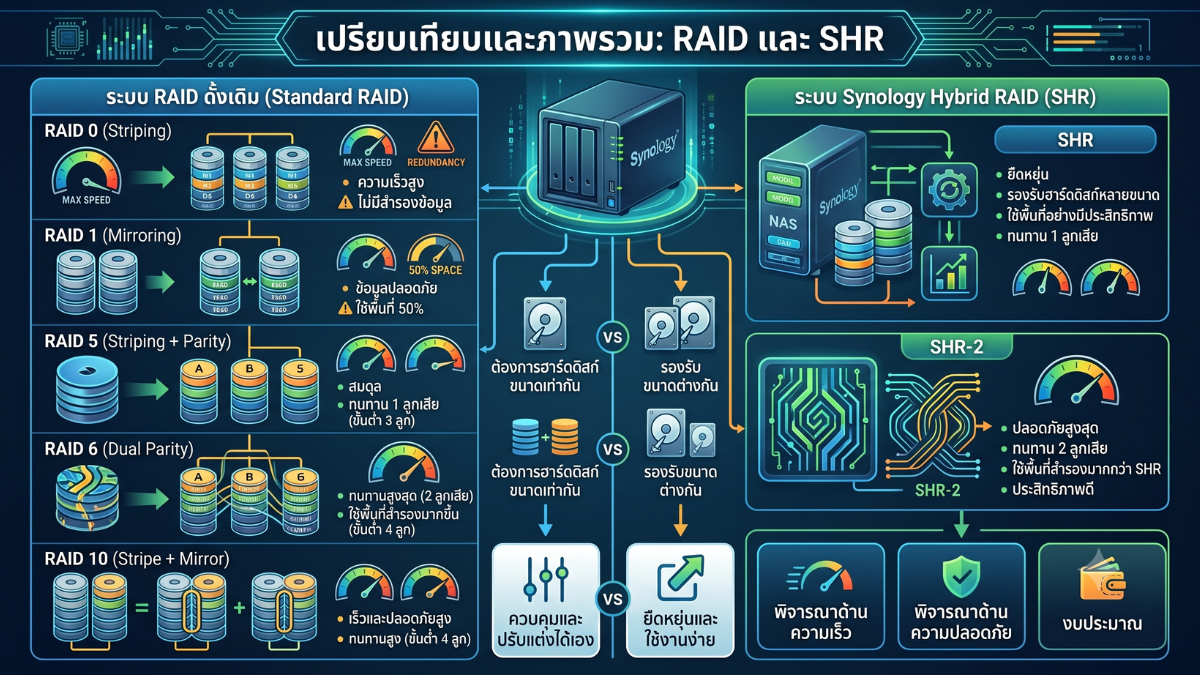
Choosing RAID or SHR affects usable space, flexibility, and data protection when a drive fails.
- SHR (Synology Hybrid RAID): Suitable for general users and small businesses, easy to use, flexible, and ideal when using drives of different sizes.
- RAID 1: Suitable for 2-bay NAS that requires mirroring data between 2 drives.
- RAID 5: Suitable for NAS with 3 or more bays, can tolerate 1 drive failure.
- RAID 6 / SHR-2: Suitable for multi-bay NAS and critical data, can tolerate 2 drive failures.
- RAID 10: Suitable for tasks that require both speed and security, but uses only about half of the total capacity.
Note: RAID or SHR is not a Backup; it is a system that allows the NAS to continue operating when some drives fail. There should always be a separate Backup.
7. Choose Btrfs or ext4 file system
Several Synology NAS models support the Btrfs and ext4 file systems. If the NAS model supports Btrfs, it is recommended to choose Btrfs for general and business use because it has better data security features.
Advantages of Btrfs
- Supports Snapshot
- Helps prevent certain types of data corruption
- Suitable for Snapshot Replication
- Suitable for File Server tasks and file recovery
However, some models or certain tasks may still use ext4. You should check the capabilities of the NAS model you are using before making a selection.
8. Create Shared Folder
Shared Folder is the main folder for storing and sharing information, such as company documents, images, work files, or backup data.
- Go to Control Panel
- Select Shared Folder
- Click Create
- Name the folder, for example Documents, Backup, Photos, or Team
- Select the Volume where you want to store the data
- Set the access permissions appropriately
If the data is important, consider enabling the Recycle Bin, Snapshot, or Encryption as appropriate.
9. Create Users and Assign Permissions
Everyone should not use the same account. Separate accounts should be created for each user to easily control permissions and monitor usage.
- Go to Control Panel
- Select User & Group
- Create a new user account
- Create user groups, such as Admin, Staff, Accounting, Sales, or Guest
- Set access permissions for the Shared Folder according to roles
Access should be granted only as necessary, such as read-only, read/write, or no access, to prevent accidental deletion or modification of data.
10. Enable Basic Security
After setting up the basic configuration, you should configure the DSM security to prevent unauthorized access.
- Turn off or avoid using accounts named admin if not necessary
- Set a strong administrator password
- Enable 2-Factor Authentication (2FA)
- Turn on the DSM Firewall
- Enable Auto Block to block IPs that attempt multiple failed logins
- Set up Account Protection
- Configure HTTPS and Certificates if accessed from outside
- Regularly update DSM and Packages
For users who want to increase security, it is recommended to use Synology Secure SignIn or an Authenticator app for two-step verification.
11. Configure File Service for File Sharing
To allow a Windows or macOS computer to access files on a NAS over the network, you should enable the appropriate File Service.
- SMB: Suitable for Windows and macOS for general file sharing
- AFP: An old protocol of macOS; currently SMB should be used instead for general tasks
- NFS: Suitable for Linux, VMware, or specialized systems
- FTP/SFTP: Used for file transfer in some cases, but SFTP or FTPS should be chosen if security is required
For general users, it is recommended to primarily enable SMB and disable services that are not in use to reduce security risks.
12. Set up Synology Drive and Synology Photos
Synology Drive
Synology Drive allows NAS to function like a Private Cloud for storing files, syncing files, and sharing files between different devices.
- Install Synology Drive Server from the Package Center
- Set up My Drive or Team Folder
- Install Synology Drive Client on the computer
- Set up Sync or Backup as desired
Synology Photos
Synology Photos is suitable for storing and backing up photos from smartphones or cameras. It helps users organize photos, create albums, and share photos conveniently.
- Install Synology Photos from the Package Center
- Install the Synology Photos app on your mobile
- Set up Photo Backup from your smartphone
- Set access permissions for private or shared photos
13. Set up backup
NAS can serve as primary storage, but NAS itself should also have a separate backup to protect against accidental file deletion, ransomware, NAS failure, fire, flood, or theft.
Hyper Backup
Hyper Backup is used to back up data from NAS to other destinations, such as an External Drive, another NAS, an rsync Server, or Cloud Storage
Snapshot Replication
If the NAS supports Btrfs, you can use Snapshot Replication to create snapshots of shared folders and quickly restore files from the past.
Active Backup
For businesses, you can consider packages in the Active Backup group, such as Active Backup for Business, Active Backup for Microsoft 365, or Active Backup for Google Workspace, depending on the type of data you need to back up.
Recommendation: It is advisable to use the 3-2-1 Backup principle, which means having at least 3 copies of data, stored on at least 2 types of media, and having 1 copy kept offsite or separated from the main system.
14. Set up NAS access from outside
Synology NAS can be accessed from outside in many ways, but you should choose a method that is appropriate and safe.
QuickConnect
QuickConnect allows users to access the NAS from outside easily, without the need to configure Port Forwarding in many cases. It is suitable for general users who want convenience.
- Go to Control Panel
- Select External Access
- Select QuickConnect
- Enable QuickConnect
- Set up QuickConnect ID
DDNS
DDNS is suitable for users who need a domain name to access NAS from outside and have an understanding of Router, Port Forwarding, Firewall, and Certificate
VPN
For business or important information, it is recommended to use a VPN to connect back to the network before accessing the NAS instead of opening the NAS port directly to the internet.
Precautions: If you need to access the NAS from outside, you should use HTTPS, enable 2FA, restrict user permissions, update DSM, and check the logs regularly.
15. Install additional applications through Package Center
Package Center is the Synology application hub that helps enhance the capabilities of NAS
Examples of Popular Packages
- Synology Drive Server: Sync and share files like a Private Cloud
- Synology Photos: Store and back up photos
- Hyper Backup: Back up NAS data
- Snapshot Replication: Create snapshots and restore historical data
- Surveillance Station: CCTV management system
- Active Backup Suite: Back up PC, Server, VM, Microsoft 365, and Google Workspace according to supported packages
- Container Manager: Use Containers for advanced users
- Virtual Machine Manager: Use Virtual Machines in supported models
Only the necessary packages should be installed to reduce resource usage and minimize security risks.
16. Check system status and drive health
After starting to use the NAS, you should regularly check the system and drive status.
- Check Storage Pool and Volume
- Check HDD/SSD status
- Set up S.M.A.R.T. Test
- Set up alerts via Email or Push Notification
- Check Log Center when a problem is found
- Periodically check Volume free space
If a Bad Sector, Drive Warning, or Storage Pool Degraded is found, you should promptly check and plan to replace the drive immediately.
17. Checklist After Installing Synology NAS
| Topic | What to do |
|---|---|
| DSM | Install and update to the latest version |
| Storage | Create a Storage Pool and Volume suitable for use |
| File System | Select Btrfs if the NAS model supports it and snapshots are desired |
| User | Create a separate user account, do not use a shared account |
| Permission | Set Shared Folder permissions according to roles |
| Security | Enable 2FA, Firewall, Auto Block, and Account Protection |
| File Service | Enable SMB and disable unused services |
| Backup | Set up Hyper Backup, Snapshot, or Active Backup as appropriate |
| Remote Access | Use QuickConnect, DDNS, or VPN as appropriate, and set up complete security settings |
| Monitoring | Set up alerts, check drives, and periodically check logs |
Summary
Setting up a Synology NAS for general users is not difficult if you start by preparing the equipment correctly, installing DSM, creating a Storage Pool and Volume, creating a Shared Folder, assigning user permissions, and completing the basic security settings.
An important point not to be overlooked is choosing the appropriate RAID or SHR. Using Btrfs if the model supports it, enabling 2FA, setting up separate backups, and regularly checking the drive status are all crucial. This is because NAS is not just a storage space but a data center that should be continuously maintained.
When set up correctly, Synology NAS makes storing, sharing, backing up, and accessing data easy, secure, and capable of supporting long-term data growth.
Need expert advice or would like to request a quotation? Contact us today:
E-mail: [email protected]
LINE Official: @sync.co.th

The Company reserves the right to correct any typographical or printing errors and shall not be held liable for any inaccuracies resulting from such errors.
*** This article is the intellectual property of SyncTech Solution Company Limited. Reproduction, modification, or redistribution of this content, in whole or in part, is strictly prohibited without prior written permission from the Company. ***